But they are tasty calories.

Back in Pittsburgh, our church had an international dinner one year, and Mom was in charge of the Greek table. Somewhere, she came up with a recipe for baklava, and we adopted it as our own. (Altho' there are a number of nationalities in our lineage, I don't believe Greek is one of them.)
This recipe makes a pastry that is astonishingly sweet and rich. (I suspect it is sweeter and nuttier than other recipes you'll find; we Beers tend toward a sweet tooth...) We generally cut it in small pieces, hoping to stave off overload. When you bite into it, there are so many tastes and sensations: nuts and sugar; crunchy pastry and gooey syrup; delicious and decadent and memorable.
We used to sit around the table, eating cookies and baklava and playing games. One Christmas sticks out in my mind, when we took a batch with us to Dave & Joyce's apartment in Chicago, and ate it late into the night, playing Risk and Mastermind. The late hour and the baklava overload didn't really improve our playing skills, but we didn't seem to care.
The first time my sister & I made baklava, it was a painfully slow process. The phyllo dough dries out quickly, and becomes brittle. It took Lori & me so long to make, the dough was totally falling apart. We pieced it together like a puzzle, and pasted it down with melted butter. This doesn't hurt the taste at all, and is always a good technique for bringing a stray corner into line.
BTW, I use a small paint brush to spread the butter - it works great. Rest assured, this paint brush has never seen paint! To help keep the dough from drying out, I unroll the layers on the table, and cover them with a damp towel. I retrieve one layer of dough, then recover the stack while Jim spreads the butter and the nut mixture.
Some recipes only call for butter every few layers. We spread butter on every single layer, and use the nut mixture every fourth layer (another nod to the Beer sweet tooth). I try to end with at least two layers (four is better) after the last nut layer.
I recently read that baklava will freeze well. We're going to try freezing some this year, so that tasty baklava will be available through the holidays.
Here's our recipe:
For pastry:
40 pastry sheets (fillo or phyllo)
1 pound butter (melted)
1 pound walnuts (chopped)
1 and 1/2 cups sugar
2 Tbsp cinnamon
Cloves
For syrup:
1 and 1/2 cups sugar
3/4 cup water
1 tsp lemon juice
1/2 cup honey
- Melt butter.
- Chop walnuts. Combine with sugar and cinnamon.
- Layer pastry in pan. Brush first, second, & third layer with butter. Brush fourth layer with butter and also sprinkle with nut mixture.
- Repeat, using all sheets (end with 2 - 4 buttered layers, rather than a nut layer).
- Score with sharp knife, almost to bottom, in diamond shapes. Insert whole cloves at corners of pieces.
- Bake 1/2 hour at 350 degrees
- Reduce heat & bake 3/4 hour at 300 degrees.
- Combine sugar, water, and lemon juice.
- Heat to boiling.
- Add honey.
- Pour hot syrup over baklava immediately as it comes from the oven.
For instance, this time I only bought a 12 oz bag of walnuts (remembering that we had leftovers last year). When I was adding the sugar, I should have decreased a bit, but I was talking to Jim on the phone, and realized I was paying no attention to how much sugar I added. When I taste-tested, the mixture seemed way too sugary (even for Beers). So we found some pecans, chopped them up, and added them. That made for a good mixture, but of course we had way too much then...!
One year we weren't paying close attention while making the syrup, and it boiled over on the stove. Honey everywhere - what a mess. Happily, we didn't have that problem this year!
More pictures, from our latest baklava adventure:
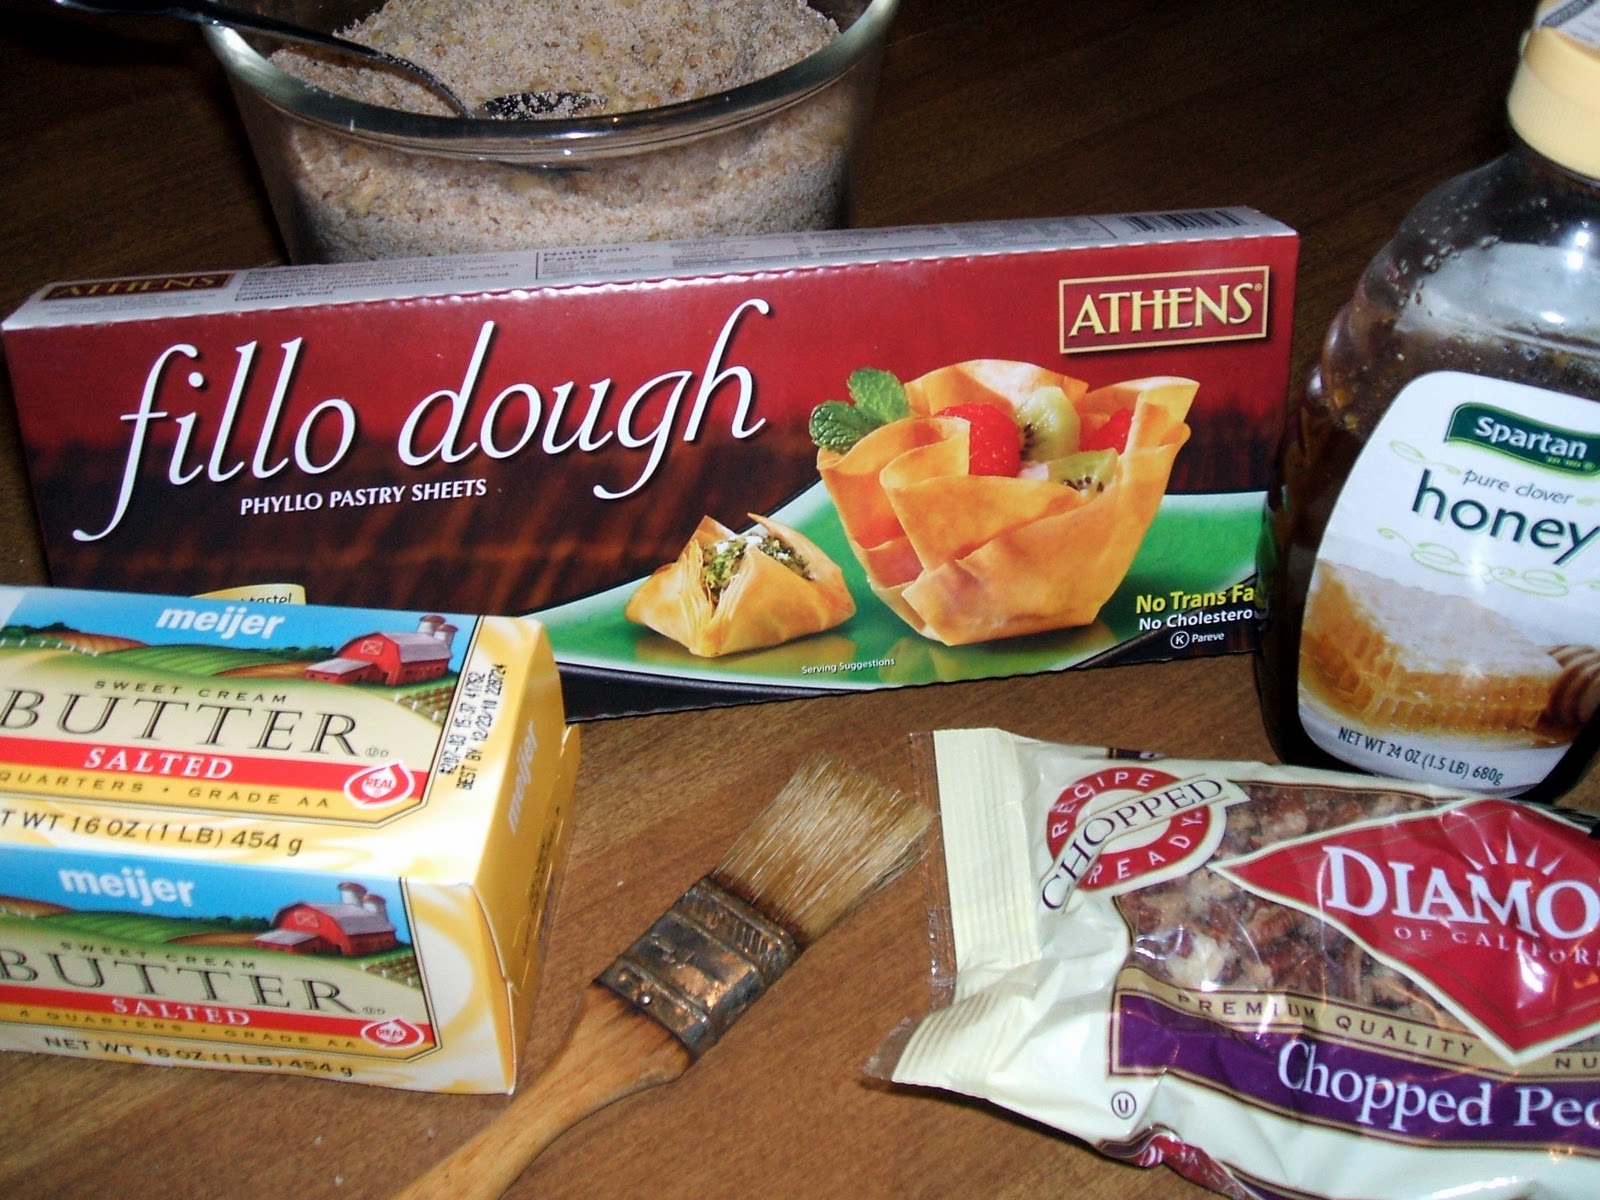 |
| Getting ready |
 |
| Robin scoring the dough, before baking |
 | ||
Jim adding the cloves
|

 |
| Bonnie recovering from the stress of baking |


